Gazelle Keycloak
Introduction
The purpose of this document is to guide you through the installation process of the usage of Keycloak in Rocket.Chat. This IDP is used by Gazelle tools to authenticate users.
Base documentation is available on Rocket.Chat.
Roles
Rocket.Chat uses specific roles to manage permissions.
It is possible to synchronize Rocket.Chat roles with Keycloak roles.
As Rocket.Chat is using realm OAuth2 userinfo endpoint for retrieving roles, it is not possible to map Gazelle roles at realm level.
So roles should be mapped directly in Gazelle/Keycloak user federation.
If a user with admin_role in Gazelle should have admin role in Rocket.Chat, admin_role=admin should be added in “Role Mappings” as documented in installation.
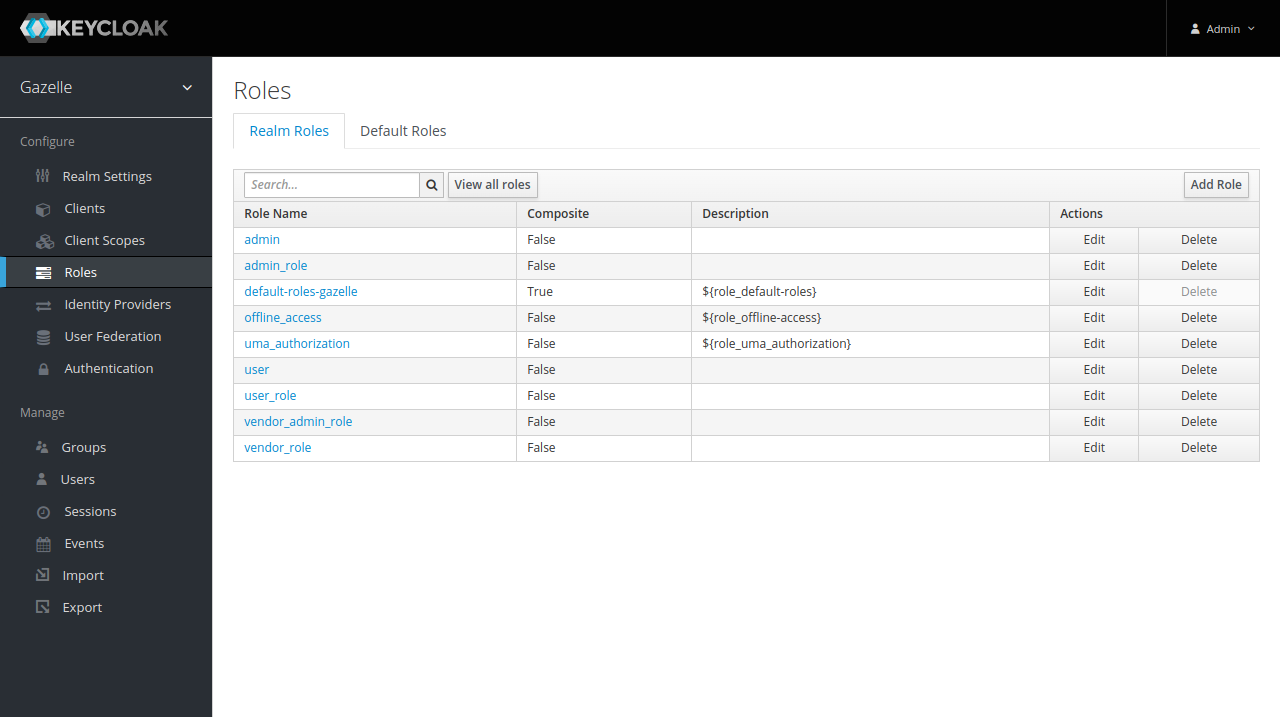
Default roles
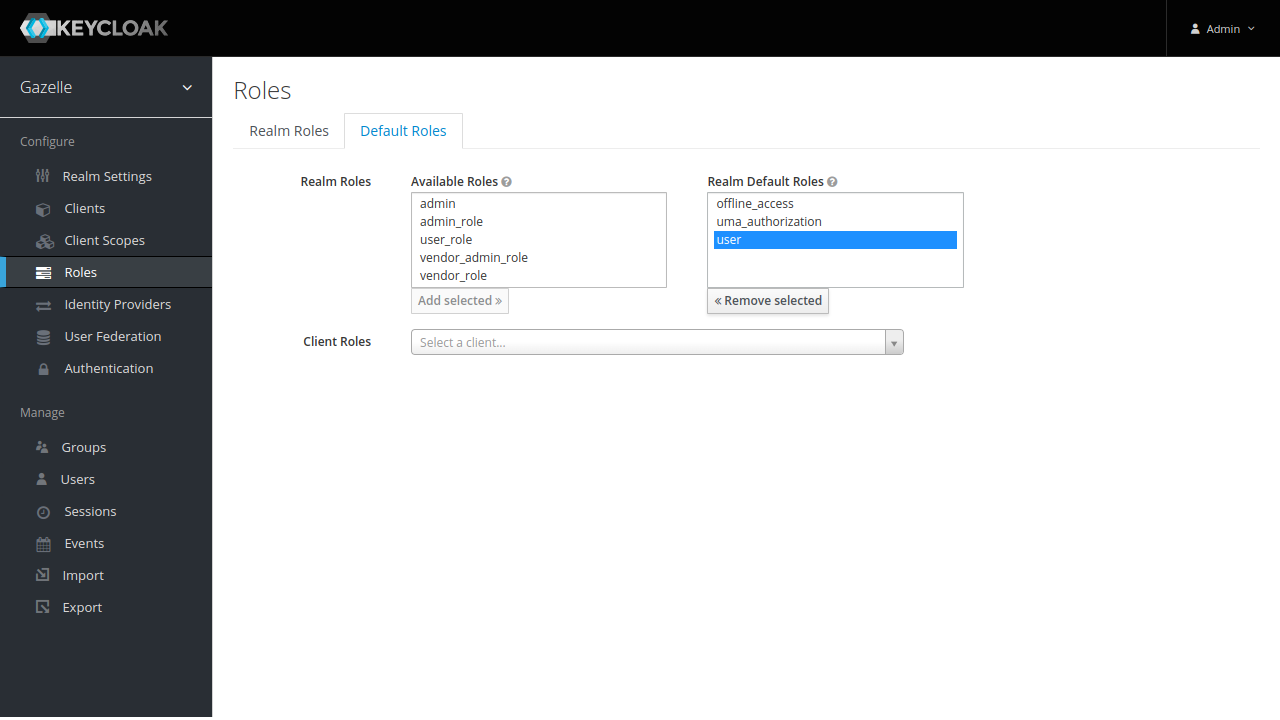
If all users must have specific roles in Rocket.Chat, like user, add these roles in Gazelle realm :
Add them as default roles :
Configuration
Keycloak
Create a rocketchat client as described in installation. For client ID, use “rocketchat”.
Rocket.Chat
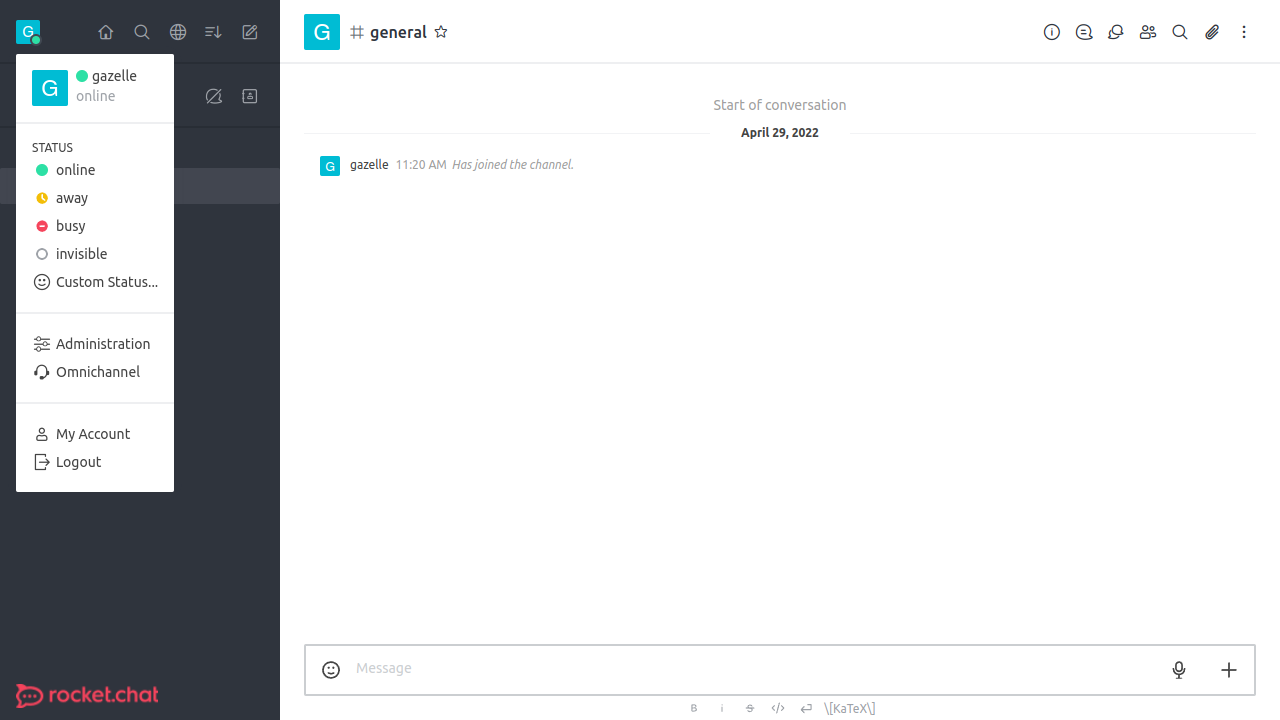
Once connected as an admin in Rocket.Chat, go to “Administration” in top left menu.
In Settings sub-menu, click on OAuth.
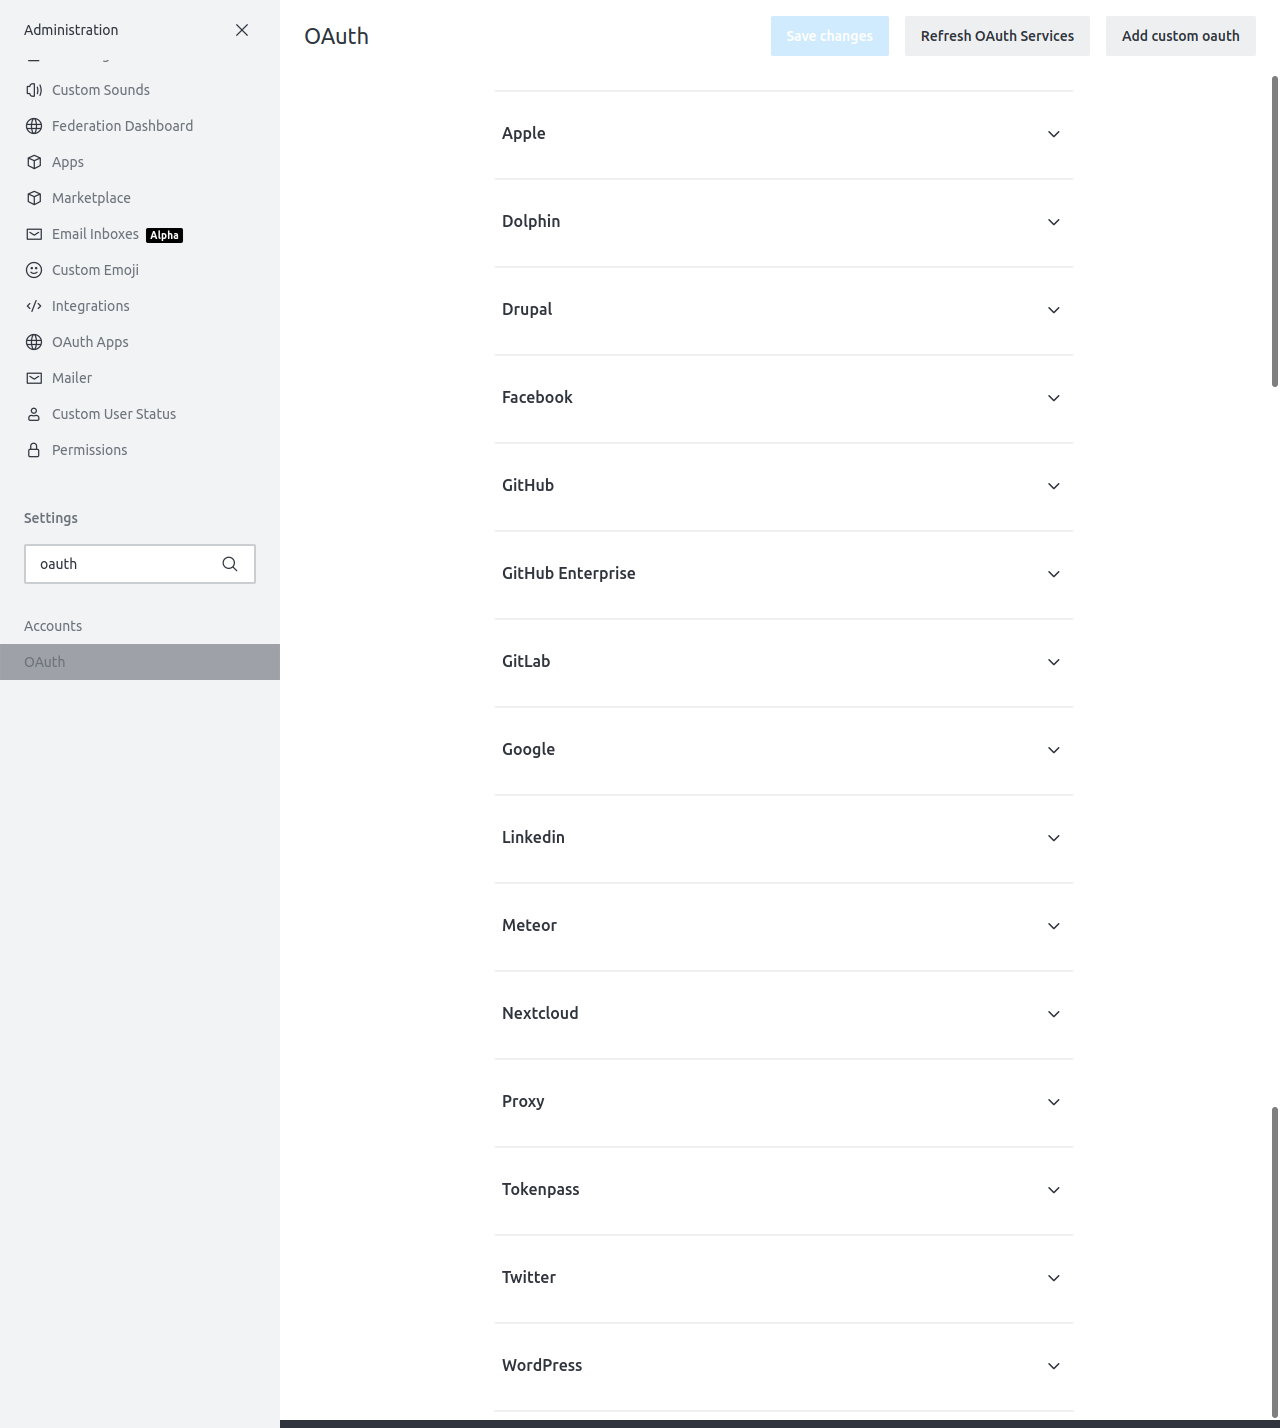
Click on “Add custom oauth” button at top right. Use “gazelle” as unique name.
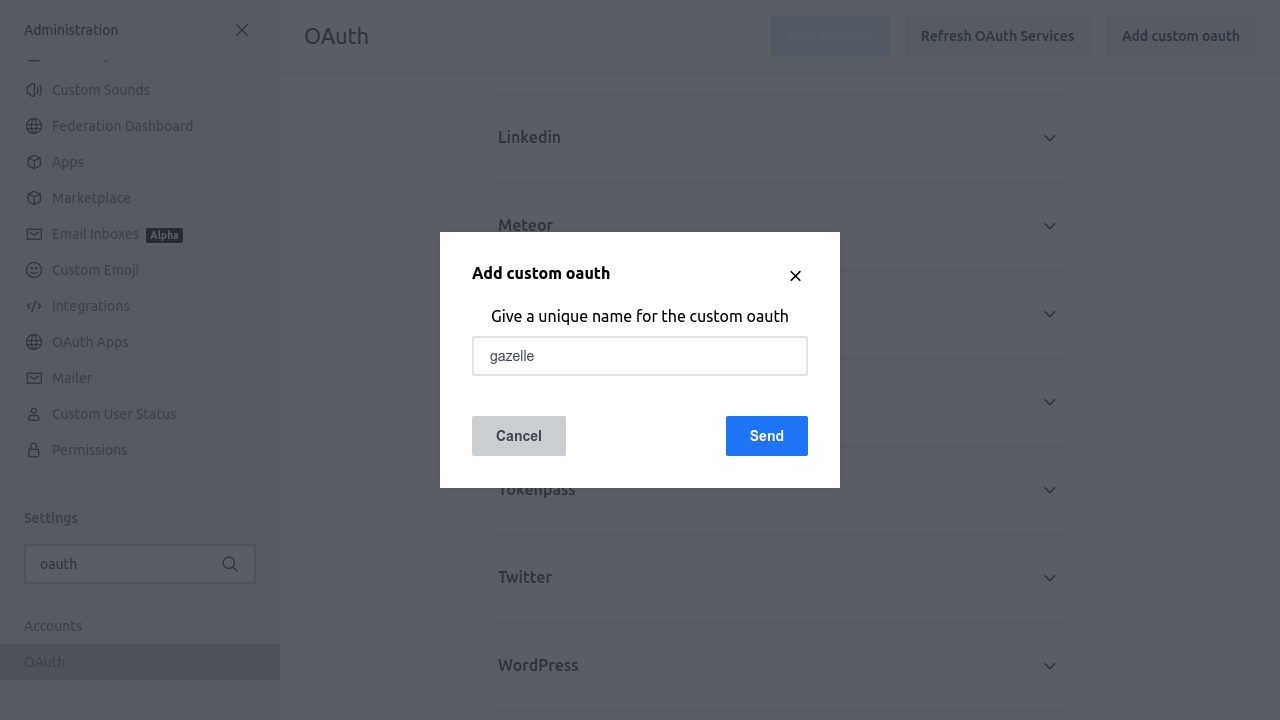
Open Gazelle entry and configure the service :
- Enable : Checked
- URL : Keycloak URL (ex :
https://fqdn/auth) - Token Path : /realms/gazelle/protocol/openid-connect/token
- Token Sent Via : Header
- Identity Token Sent Via : Same as “Token Sent Via”
- Identity Path : /realms/gazelle/protocol/openid-connect/userinfo
- Authorize Path : /realms/gazelle/protocol/openid-connect/auth
- Scope : openid
- Param Name for access token : access_token
- Id : rocketchat (client id in Keycloak)
- Secret :
- Login Style : Popup
- Button Text : Login with Gazelle (can be customized)
- Button Text Color : #FFFFFF (can be customized)
- Button Color : #1d74f5 (can be customized)
- Key Field : Username
- Username field : preferred_username
- Email field : email
- Name field : name
- Avatar field
- Roles/Groups field name : roles
- Roles/Groups field for channel mapping : groups
- User Data Group Map : rocket.cat
- Map Roles/Groups to channels : Unchecked
- Merge Roles from SSO : Checked
- Merge users : Checked
- Show Button on Login Page : Checked
- OAuth Group Channel Map : unchanged

Click on “Save changes”.
It is now possible to login against Gazelle users with Rocket.Chat.